
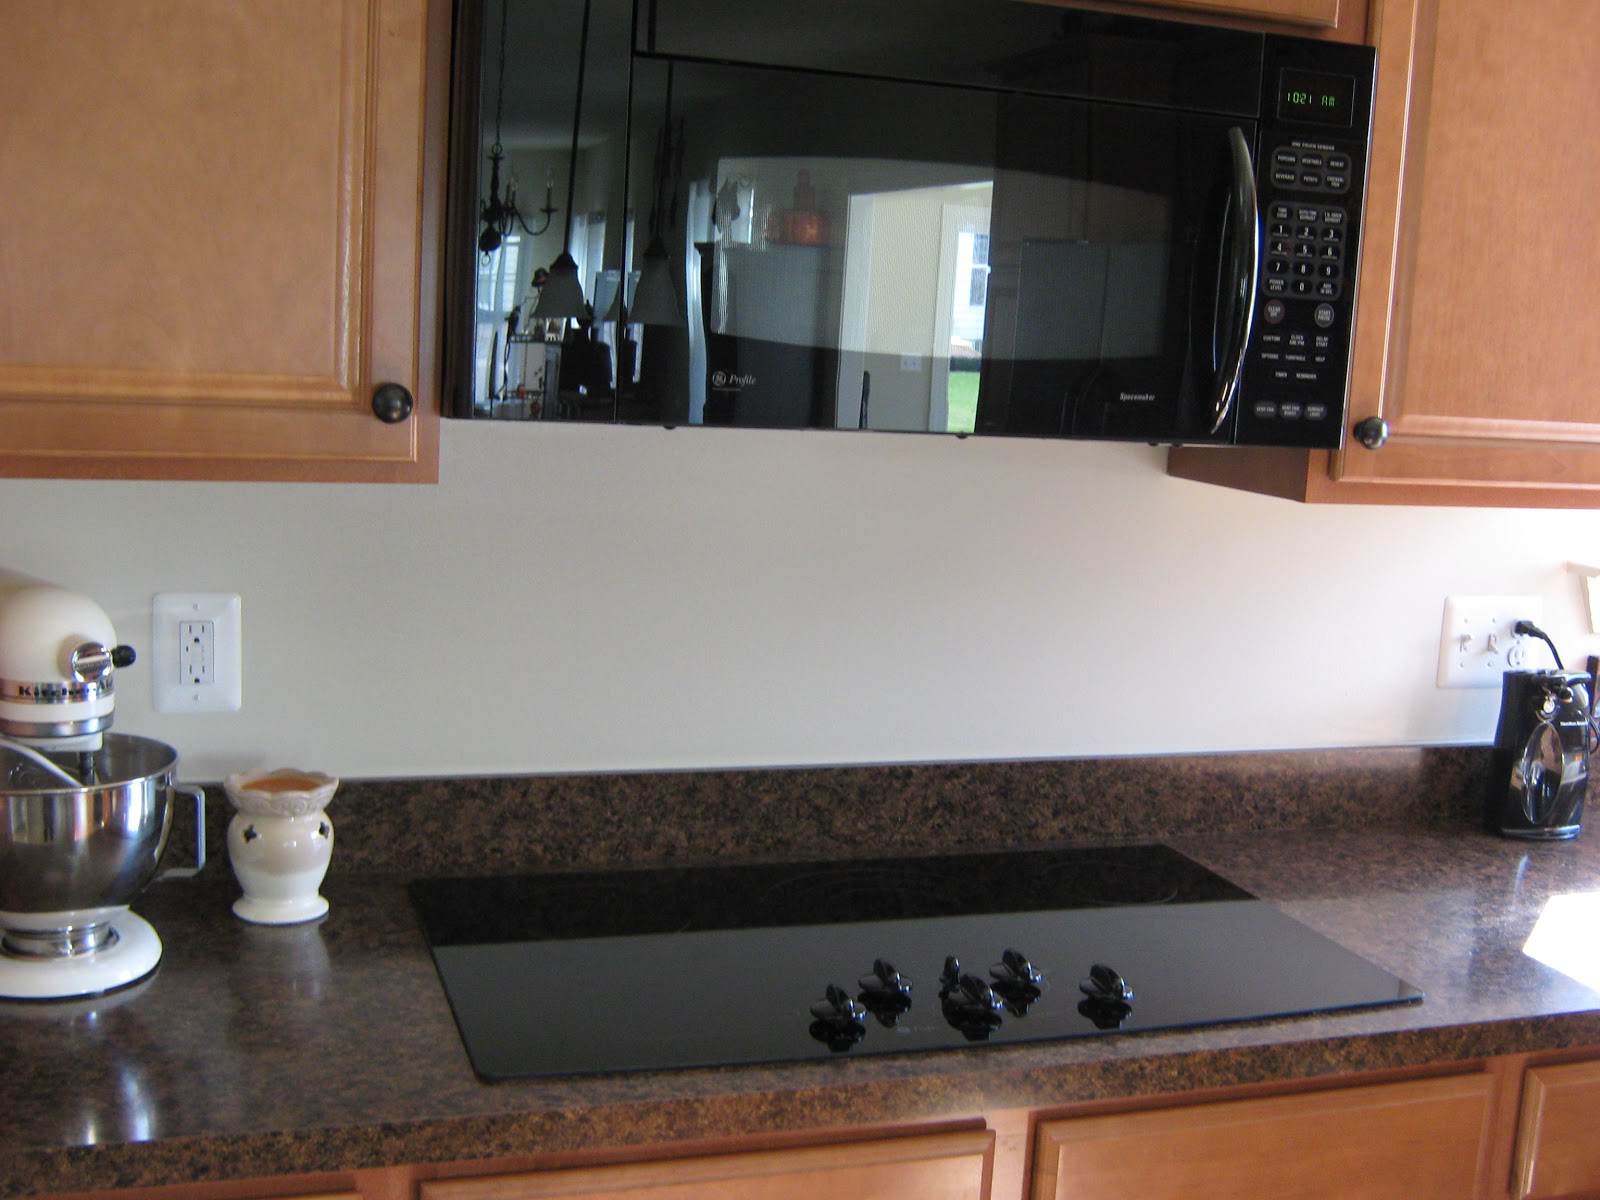
There must be a better way to make my boring backsplash pretty!

This is raised, paintable wallpaper with a punched tin pattern. There's quite a few designs to choose from, too - just Google "Punched Tin Wallpaper"!
Applying it to the wall is SUPER easy! The patterns line up easily and I had the added benefit of being able to customize some parts of it very simply by using my scissors.

After it dried, I applied two coats of Martha Stewart's metallic paint in Polished Silver. If there were any little spots where the wallpaper didn't quite meet the cabinets, the coat of silver paint erased those imperfections.

Next, using a small sea sponge, I applied a light coat of a darker metallic paint, Thundercloud.
I could have stopped there, but I liked the dappled look so much that I sponged another light coat of
Polished Silver over top. That extra coat really made the wallpaper look a lot more like punched metal.

I did the same technique to all of my switch plates and the screws...


...with this result:

Lastly, because this is a kitchen backsplash, I then applied 5 coats of clear, high-gloss polyurethane. I wanted to be sure that I'd be able to wipe down any spills without problems!
Here's my new Fake Tin Backsplash!


I'm thrilled with the result - so much that I'm thinking of doing the same to the boring front of my kitchen island!
The Fake-It Yourself Breakdown:
Fake Tin Backsplash (Wallpaper $15.00, Martha Stewart Paints $16.00)
Total Fake-It Cost: $31.00
Compare to Individual 2X2 Panels like this one from Home Depot: $18.95 each (I would have needed at least 12)
 |
| Home Depot |
Linking Up at Tip Junkie, Today's Creative Blog, The Frugal Girls, Funky Junk Interiors and these other Great Parties!

Looks great, I love the look! Is is washable? I am a messy cook, so it would need to be pretty durable...
ReplyDeleteVery durable - There are 5 coats of polyurethane on it! I've had it for about 6 weeks now and it's just like new - tomato sauce splashes are no match for my backsplash!
DeleteThis is SUPER cute! GREAT JOB!!!!
ReplyDeletewww.iheartmygluegun.com
I think I am going to try this on my ceiling too.
ReplyDeleteI really like this idea.. your so resourceful!! Gotta love that... I really like the painting technique as well.. you have done well!!
ReplyDeleteThanks so much Tracey!
DeleteI love it. You've made it look so authentic with your painting technique and so clever to do the plug covers and screws - you've thought of everything. We have recently purchased the beadboard paintable wall paper to apply to our backsplash and I'm hoping it looks as good as yours even though we're just going to paint it the wall colour.
ReplyDeleteThanks for sharing.
Beautiful! I think you've inspired me! Wish this stuff had been around years ago when I wanted this look. I wound up using underpinning for mobile homes! It worked, but didn't look nearly as classy.
ReplyDeletewhere did you get your wallpaper from? i tried a google search but i must not be looking in the right place.
ReplyDeleteHere ya go!
Deletehttp://www.amazon.com/Imperial-VP131600-Architectural-Paintable-Wallpaper/dp/B00270FMU4/ref=sr_1_1?s=hi&ie=UTF8&qid=1350307916&sr=1-1&keywords=pressed+tin+wallpaper
Here's a link to the wallpaper on amazon
ReplyDeletehttp://www.amazon.com/Imperial-VP131600-Architectural-Paintable-Wallpaper/dp/B00270FMU4/ref=pd_sim_sbs_hg_2
I love it. I have been wanting arrested tin backsplash.
ReplyDeleteBlessings,
Lorilee
Gorgeous and very convincing! Thanks for the paint colors. Is the Martha paint found at the craft store or home improvement center?
ReplyDeleteI picked those up at Home Depot!
DeleteI have marvelled before about where on earth you get ideas like this. Today I wonder where on earth do you find the time?! You do it AND blog about it! :) Another homerun! Well done!
ReplyDeleteHey thanks, Heather!
DeleteWish you would have posted this last year! My husband did our backsplash last year around this time....using the plastic panels! Looks great, but your way would have been cheaper!
ReplyDeleteI recommend using the wallpaper that looks like embossed leather for the front of your island. With brown and black, it looks just like weathered leather. I love the backsplash idea and I'm totally stealing it for my kitchen in bronze or copper!
ReplyDeleteI love it! Great idea and great work on the painting.
ReplyDeleteWhat a wonderful idea!! Looks great!!
ReplyDeleteJenn~
You are AWESOME! I love love love love this! I Will be sharing this grand idea.
ReplyDeleteLOVE!!! such a clever way to do this.. I saw some plastic versions at home depot but this is WAY better.. ;) I'd love for you to post this project on my new link party! Impatiently Crafted Sundays ;) http://impatientlycrafty.com/2012/10/13/craft-link-up-impatiently-crafted-sundays/
ReplyDeleteOh that looks so cool! You did a great job and happy to hear that it is durable!
ReplyDeleteNO WAY!!! We have been wanting to do this in our kitchen too and just couldn't justify the cost!! AMAZING! Thanks.
ReplyDeleteI really like most of your ideas, but this has got to be one of my faves - I am HIGHLY IMPRESSED!!!
ReplyDeleteWish I would have seen this before I put up the real thing and spent over $200! Very nice!
ReplyDeleteWhat do you use to apply the silver paint? A paint brush or a sponge?
ReplyDeleteDid you hang short pieces vertically? I'm also wondering how you hung it.....just water or liquid nails, etc? I bought the paper and am dying to get started :)
ReplyDeleteI just hung the wallpaper according to the directions - with water. Best of luck!
DeleteThanks for the advice...The actual print of the paper has changed from what you have on your walls (even with the same listing/link), so I think I will have to hand vertically in 19'' pieces in order to get some of the pattern in. Imperial has added several stripes in between each "box" and it isn't as pretty as yours :/
DeleteI didn't notice the difference in the wallpaper till Newport Singer mentioned it. I found the exact match on Amazon. Here is the link http://www.amazon.com/Large-Flower-Textured-Paintable-Wallpaper/dp/B003CQCN2M/ref=pd_sim_sbs_hi_6
DeleteIt's a bit more expensive too.
After almost a year, is the backsplash still holding up well? I was at lowes and say this paintable wallpaper and am dying to try it but am nervous it won't hold up even with the polyurethane.
ReplyDeleteAfter almost a year, is the backsplash still holding up well? I was at lowes and say this paintable wallpaper and am dying to try it but am nervous it won't hold up even with the polyurethane.
ReplyDeleteIt's as perfect as the first day! No problems with cleaning or wear!
DeleteThank you so much for sharing your work here. I can say that you really did a very great job here, Heather. It looks perfectly beautiful. It was also a very wonderful idea that you dub on another color to make it more like of a metal appearance. It is really very nice. Please do post your if you do your next project. -www.tinceilingxpress.com
ReplyDeleteHello Heather,
ReplyDeleteI just completed a similar project myself, and was about to publish a "How-To" on my blog when I saw you had done the same thing. Your explanation is straightforward and well-written, and your enthusiasm shines through. My analysis of my project is more technical. Would you mind if I linked to your post here, so that my readers can have a simpler explanation of the project?
This comment has been removed by the author.
ReplyDeleteThis is my first visit to your website/blog, and I really like what I'm seeing. I did this same thing to a bathroom ceiling in an antebellum home with ball and claw tub, and it looks great. I used spray Rust-Oleum oil rubbed bronze colored paint on the outside of the old tub, as well as on tin tile design paper to go on ceiling, before installing it to the ceiling. Then I sponged the ceiling with metalic copper paint. It looks like an old copper tile ceiling....similar to yours, but in copper tone instead of silver tin color. Perfect for an 1832 antebellum home!
ReplyDeleteThank you so much for sharing this! I have been waiting to get the tin backsplash when I had saved enough money...now I know how to get the look I want without spending a fortune!
ReplyDeleteGreat job! It looks very nice :)
ReplyDeleteSarah
love it! just curious. how much paint did you use?
ReplyDeleteAbout a quarter of a jar for each color. Cheers!
DeleteHow did you finish exposed edges? Brillant idea!
ReplyDeleteI just completed this today and it really turned out well. Thank you for the idea.
ReplyDeleteTundra Mom Since your comment was the most recent on this tutorial, I was hoping you could tell me if you were able to locate the Martha Stewart Metallic Paints used in the original tutorial. I have been looking online and don't see any bottles that look like the ones pictured in the tutorial. Perhaps the bottles have simply changed. Can you let me know where you found the paint? Thanks, Pam Frederick pamfrederick@gmail.com
DeleteTundra Mom Since your comment was the most recent on this tutorial, I was hoping you could tell me if you were able to locate the Martha Stewart Metallic Paints used in the original tutorial. I have been looking online and don't see any bottles that look like the ones pictured in the tutorial. Perhaps the bottles have simply changed. Can you let me know where you found the paint? Thanks, Pam Frederick pamfrederick@gmail.com
ReplyDeleteHi Pam, I purchased the metallic paints from The Home Depot. Cheers!
DeleteI was originally going to go with wallpaper for my backsplash and got scared a little by the possibility of it getting damaged by water, but the poly coats make total sense, and I'm going for it! Thanks for the inspiration and confidence!
ReplyDeleteI have been wanting to do this for ages, and your post has convinced me that I must make it my next project. I like the tip of giving it many coats of poly to keep it clean. I knew it wouldn't hold up well to scrubbing.
ReplyDeleteLove this....not too shiney...you did an awesome job! How has it held up?
ReplyDeletelove this doing it to my ceiling
ReplyDeleteJust did this and I love it! Plus I got the textured wall paper for only $7/roll, but the Martha Stewart metallic paints are no longer available. I used the Ralph Lauren metallic called Wedding Silver with the folk art acrylic Thunder cloud. Love the outcome! Thanks for your inspiration!
ReplyDeleteGreat job!! I would love to know how this has held up too please. Also, would love to know what you did to exposed end edges if anything?
ReplyDeleteFind kitchen backsplash ideas from the latest trends along with classic styles and DIY installation advice.
ReplyDeleteThe Le_Meridian Funding Service went above and beyond their requirements to assist me with my loan which i used expand my pharmacy business,They were friendly, professional, and absolute gems to work with.I will recommend anyone looking for loan to contact. Email..lfdsloans@lemeridianfds.com Or lfdsloans@outlook.com.WhatsApp ... + 19893943740.
ReplyDeletegoogle 203
ReplyDeletegoogle 204
google 205
google 206
google 207
google 208
google 209